Monday, March 31, 2014

Clutch Upgrade

Yesterday was a long 12 hour day of upgrading my clutch. Replaced OEM parts with FRPP Roller Pilot Bearing, FRPP Nodular Flywheel, ARP Flywheel Bolts, Spec Stage 2 Clutch with Pressure Plate, ARP Pressure Plate Bolts, OEM Throw-out Bearing, New Pivot Stud, FRPP Clutch Fork, PA Performance Starter, Steeda Quadrant, Steeda Adjustable Clutch Cable.
 
 
Started by putting the rears on ramps, and lifting the front up on jack stands.
 
 
Then disconnected the rear exhaust, removed the cat's. After that the Driveshaft came out.


While getting ready to remove the Bell Housing bolts, noticed that someone in the past used the transmission as a lift point.


Had my youngest daughter remove the shifter boot, shifter dust cover, and pull the Steeda Tri-Ax out.
 
 
8 Bell housing bolts, 2 easy bolts and 1 pain in the rear bolt on the starter and the transmission came out fairly easy.
 
Time to remove the flywheel.


There was still plenty of material left on the clutch, but that wasn't why I was upgrading. The Throw Out bearing was toast. 


The new Spec Pressure plate had a manufacturing defect in it. My friend Neil was able to carefully grind it down.
 
 
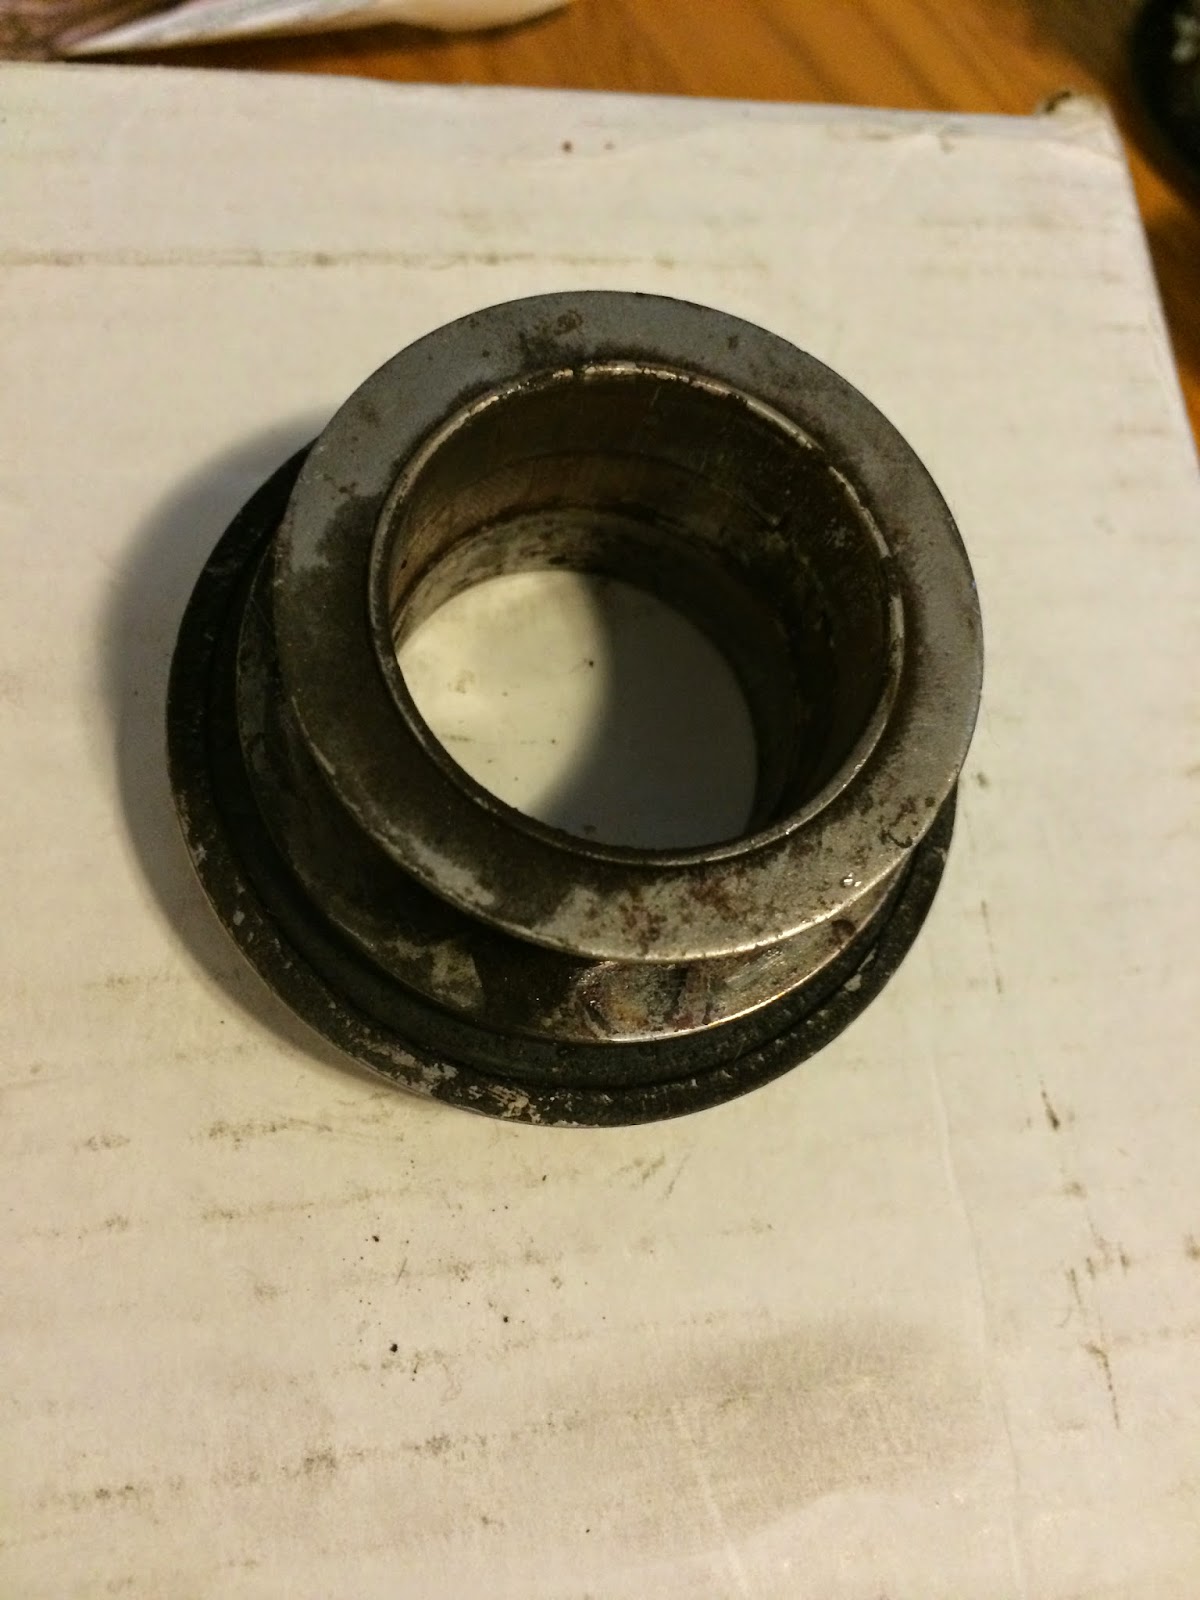
The old Pivot stud was worn out.


Installed the new Pilot Bearing, Flywheel, Clutch disk, Pressure Plate with ARP Bolts. Afterwards we repaired the bell housing. Then installed the new Clutch fork, Pivot Stud, and Throw Out Bearing. The transmission went back into place fairly easy with the help of this homemade transmission adapter plate for my 2.5 ton floor jack.


Now that the transmission was back in, time for the starter re-install. 2 easy bolts done, and then a friend painstakingly put the pain in the rear bolt back in. Note his hand in the picture below. The bolt is on top behind the starter with tight access.


Last thing to do was install the new Steeda Quadrant, Firewall Adjuster and Adjustable cable.


I want to thank Liz & Ernie for the use of their shop. I also want to thank James, Nelson, Neil, Liz, Ernie, Alex, and Chloe for helping out. Also want to thank my dad for making the transmission plate. I gave him the idea and numbers and he put it together. I made lifting the transmission in and out a breeze. Thank you Dad 

Tuesday, March 25, 2014

Monday, March 24, 2014

Hesitation under load after intake Replacement.


After the intake replacement, I ran into some hesitation issues under load. I ordered MSD Wires and MSD Coil Packs. I'm hoping that this solves my misfire issue. The #4 & 5 spark plugs were soaked in coolant. As well as the spark plug boots. I went over everything else in detail and looks good. #5 cylinder had coolant in it. I was able to wick it out with a nylon rope, several pieces later, I can insert nylon rope in the cylinder and it comes back dry. I checked all the other cylinders and they are dry as well.

Decided to replace the spark plugs while in hopes that was the issue. Still had the hesitation issue. I inspected the plug gaps, all @ 1.3 per the ford service book.


I checked everything real closely and noticed that the fuel injectors #1 & #2 didn't look like the rest. checked the book and guess what - they where rotated 45 degrees. Fixed that and now everything is okay.

Well Guess what - No more hesitation... 


Friday, March 21, 2014

Intake Replacement Complete

Finished up replacing the Rear Upper Heater Hose, Spark Plugs, Wires, Belt, and added Coolant.

Everything back together. Time to test for leaks...


No Leaks around the base of the thermostat housing like the old intake.

 
No Leaks and Everything looks great.


Had issues after the repair with the Low Coolant Light staying on. After freeing the stuck plastic float, that issue went away.


The following Video is the first startup after Intake Replacement.


The following Video is the walk around checking for leaks.


The following Video is the verification that the Low Coolant light stays off.


Thursday, March 20, 2014

Intake Removal/Install Day 2

I continued removing the old intake. Was fairly straight forward. disconnected the fuel lines, drained the coolant. 11 bolts later it was out.


Fuel Lines Removed


Thermostat Housing Removed and Intake Bolts Removed


Intake Removed


Driver Side Intake

 
Leaked Coolant


Passenger Side Intake


Coolant Passages Look Good

 
All the Intakes Looked Good


This was the Passenger Side Coolant Cross Over - Notice the O-Ring is Damaged


This was the Driver Side Coolant Cross Over - Notice the O-Ring is Cracked and Bulging Out


Old Intake


New Intake


New Intake Installed


Need to add Coolant, Replace one Heater Hose, and Re-Install the Spark Plug Wires.

More Tomorrow as I ran out of time tonight...